

How to wash and maintain a motorcycle graphics kit? | KUTVEK
Find out how to clean and maintain your motocross or motorcycle graphics kit: pressure washer, washing, matte finish, holographic, and tips to prevent peeling.
How to wash and maintain a motorbike graphics kit to make it last?
A motorbike graphics kit is designed to withstand demanding conditions: mud, dust, splashes, friction, repeated washing and temperature variations.
But even with high-quality vinyl and lamination, how the kit is cleaned and maintained plays a crucial role in its longevity and appearance over time.
At KUTVEK, we manufacture graphics kits for motocross, enduro, road bikes, trail bikes, quads, SSVs and many other vehicles. Here are the best practices to follow to keep your graphics looking great for as long as possible.
Can you wash a bike immediately after applying a graphics kit?
It’s best not to wash the bike straight after installation.
Once the kit is applied, the adhesive needs time to properly bond with the plastics or fairings. This initial phase is particularly important for edges, corners and heavily curved areas.
Before even considering the first wash, ensure the installation has been completed correctly.
At KUTVEK, we specifically recommend heating and firmly pressing around the entire edge of each piece once the kit is fully installed.
This step optimises adhesive contact in the most sensitive areas.
If possible, let the bike rest for several hours in a dry, temperate environment before exposing it to water, mud or intensive washing.
Can you use a pressure washer on a graphics kit?
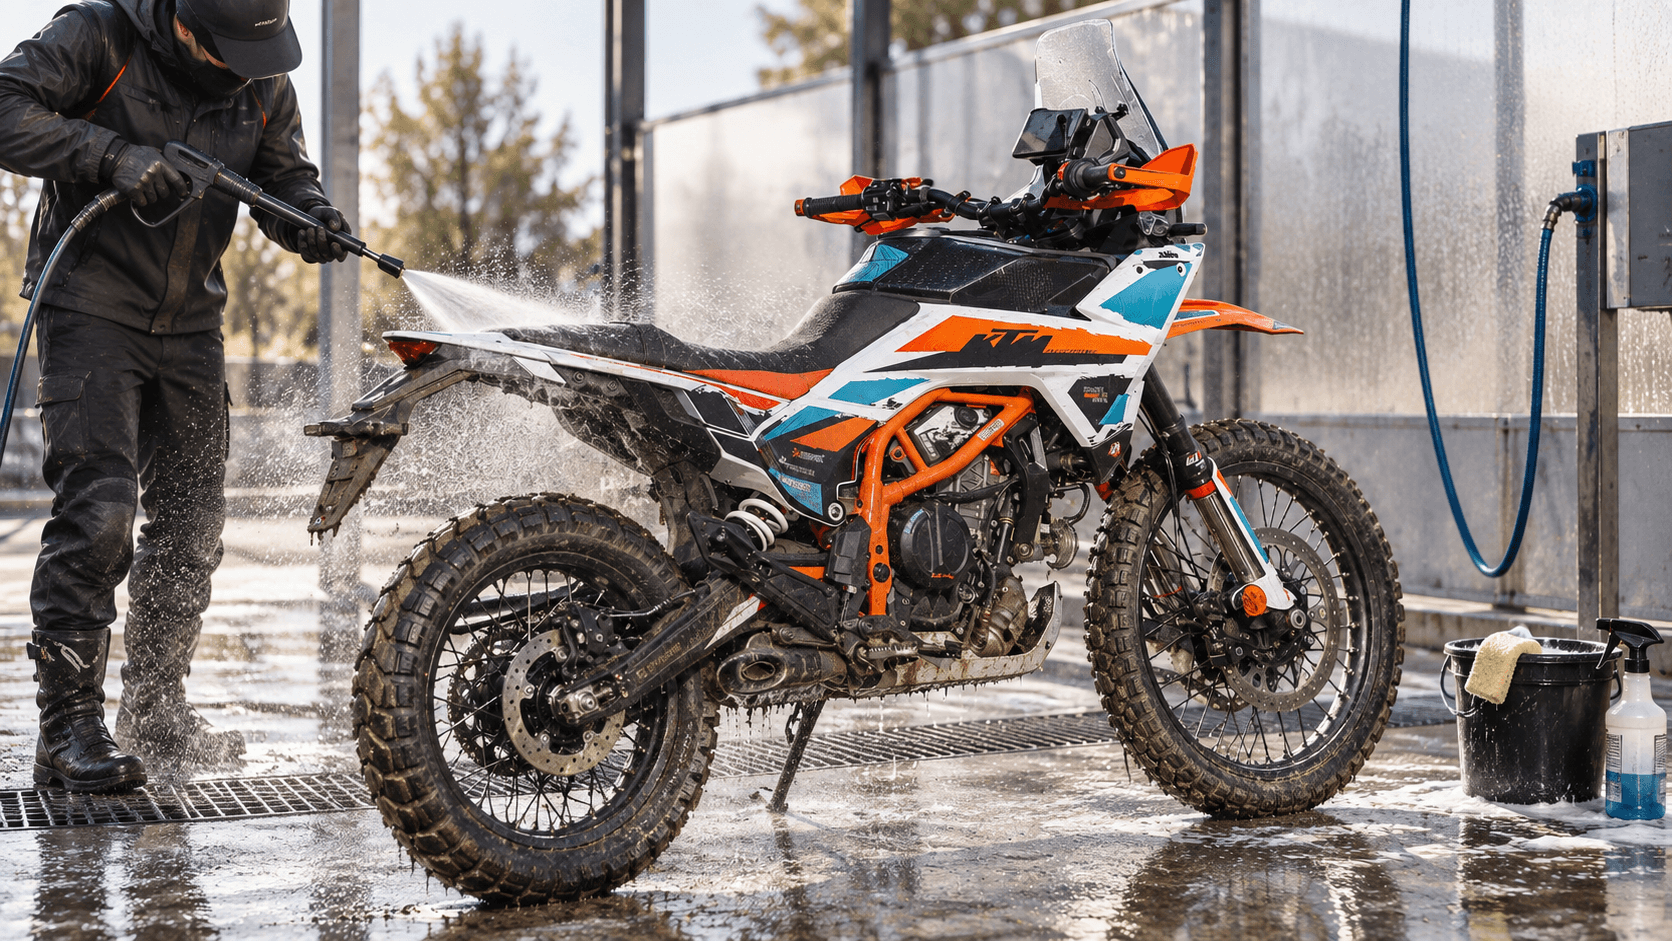
Yes, a graphics kit can be washed with a pressure washer, but the jet must be used correctly.
The main risk isn’t the water itself, but a powerful jet directed straight at the edge of the sticker.
If the nozzle is placed very close to the vinyl and aimed under the sticker, the pressure can force water between the adhesive and the plastic.
The best practice is to maintain a reasonable distance and avoid aiming the jet directly at the edges.
When cleaning around a sticker, try to direct the jet in the direction of the adhesive, not lifting its edges.
How to clean a motocross graphics kit after a muddy ride?
After an especially muddy ride, it’s tempting to attack the bike immediately with high pressure.
It’s better to proceed gradually.
Start by wetting the bike to soften the dirt and mud. This removes much of the grime without needing to focus directly on the graphics.
Then use a suitable bike cleaner for its surfaces, followed by a soft sponge or wash mitt if needed.
Rinse without bringing the nozzle too close to the edges of the graphics kit.
The principle is simple: let the product and water loosen the dirt rather than trying to blast it off with pressure.
Which products should you use to clean a graphics kit?
For regular maintenance, a mild bike cleaner is usually sufficient.
The goal is to clean mud, grease and dust without using unnecessarily harsh products.
Be particularly cautious with certain products:
- strong solvents;
- acetone;
- petrol;
- highly aggressive industrial cleaners;
- highly concentrated degreasers;
- abrasive products.
These products can damage the vinyl surface, its lamination or alter the appearance of certain finishes.
If in doubt about a product, always test it on a small, inconspicuous area before using it on the entire kit.
How to clean a glossy graphics kit?
A glossy finish is generally quite easy to maintain.
After washing, you can dry the bike with a clean microfibre cloth to avoid water marks.
Avoid abrasive sponges and overly harsh products that could gradually create micro-scratches on the laminated surface.
The cleaner and softer the cloth, the better the result.
How to clean a matte graphics kit?
A matte graphics kit requires a bit more attention.
The goal is to maintain its uniform appearance without creating shiny patches from excessive rubbing or unsuitable products.
Avoid polish, glossy waxes and products designed to add shine.
Opt for gentle washing followed by drying with a clean microfibre cloth.
The same principle applies to satin finishes.
How to maintain a holographic or chrome graphics kit?
Holographic, chrome and other special-effect films contribute significantly to a graphics kit’s premium look.
They should therefore be maintained with care.
Use mild products and avoid abrasive cleaners or strong solvents.
After washing, wipe the surface with a clean microfibre cloth without excessive rubbing.
This helps preserve the visual appearance and light effects of the material.
What about fluorescent graphics kits?
Fluorescent films are particularly striking but are also exposed to UV and outdoor conditions.
As with other special effects, use gentle cleaning and avoid harsh chemicals.
When the bike isn’t in use for extended periods, storing it away from constant sunlight also helps preserve the materials’ appearance longer.
Why might the edge of a graphics kit start lifting?
An edge may start lifting for several reasons.
This could be due to poor initial preparation of the plastic, installation in unsuitable conditions, excessive tension applied to the vinyl or insufficient post-heating.
Washing can also worsen an already weakened edge if pressure is directed underneath it.
This is why we particularly emphasise one rule:
once the kit is fully installed, heat and firmly press around the entire edge of each piece.
This step is especially important for corners, recesses and curved areas.
What to do if an edge starts lifting slightly?
Avoid pulling on it.
Start by properly cleaning and drying the area.
If the lifting is very slight and the adhesive is still clean, moderate heating followed by firm finger pressure can sometimes reseat the edge correctly.
If the area is contaminated with dust or mud, or if the lifting is significant, it’s best to seek advice before using glue or a product that could damage the vinyl or plastic.
Should you use polish on a graphics kit?
It depends on the finish.
On a glossy kit, some compatible products may be used, but always check their compatibility with the vinyl and its lamination.
Conversely, avoid polish on matte or satin finishes, as it may alter their appearance and create shiny patches.
In most cases, regular gentle washing is more than enough.
How to make a motocross graphics kit last longer?
A kit’s lifespan obviously depends on its use.
A motocross bike ridden several times a week, washed after every ride and subjected to boots, knee braces, mud and splashes won’t face the same stresses as a road bike.
To maximise its durability, three elements are essential:
proper preparation before installation, correct installation and suitable maintenance.
Cleaning matters, but the quality of the initial installation remains decisive.
This is why post-heating the edges is a fundamental step.
Areas to pay special attention to
Certain areas are naturally more exposed.
This includes the bike’s sides where boots and knees make contact, side panels, areas near the engine, plastic returns and corners.
When cleaning, take a few seconds to check these spots.
If an edge starts coming loose, it’s better to act quickly rather than continue washing the bike for weeks until the lifting becomes more severe.
Proper installation remains the best protection
Maintenance actually begins during installation.
A kit correctly applied to clean, degreased plastic, without excessive tension and with complete post-heating of all edges, will naturally have better chances of withstanding off-road stresses and repeated washing.
If you’ve just received your KUTVEK kit, also check out our guide:
How to properly install a KUTVEK graphics kit?
You’ll find all the key steps for preparing your plastics, positioning the stickers and correctly performing post-heating.
FAQ – Graphics kit maintenance and washing
Can you use a pressure washer on a motocross graphics kit?
Yes. However, maintain sufficient distance and avoid directing the high-pressure jet straight at the sticker’s edges.
How long to wait before washing a new graphics kit?
It’s best to let the kit rest for several hours after installation and, when possible, until the next day before intensive washing.
Why should you heat a graphics kit after installation?
Post-heating with firm pressure on the edges improves adhesive contact with the plastic, particularly on corners and curved surfaces.
How to clean a matte graphics kit?
Use a mild product and a clean microfibre cloth. Avoid polish, glossy waxes and abrasive products that could alter the matte appearance.
Can you clean a holographic kit with a pressure washer?
Yes, with the same precautions as a standard kit: maintain reasonable distance and don’t direct pressure under the vinyl’s edges.
What to do if a sticker starts lifting?
Don’t pull on it. Clean and dry the area. If the lifting is slight and clean, moderate heating followed by firm pressure may help. If unsure, contact KUTVEK before using glue or chemicals.
Which products should be avoided on a graphics kit?
Avoid strong solvents, acetone, abrasive products and aggressive industrial degreasers in particular.