


Roadster decal kit: protecting and renovating your fairings | KUTVEK
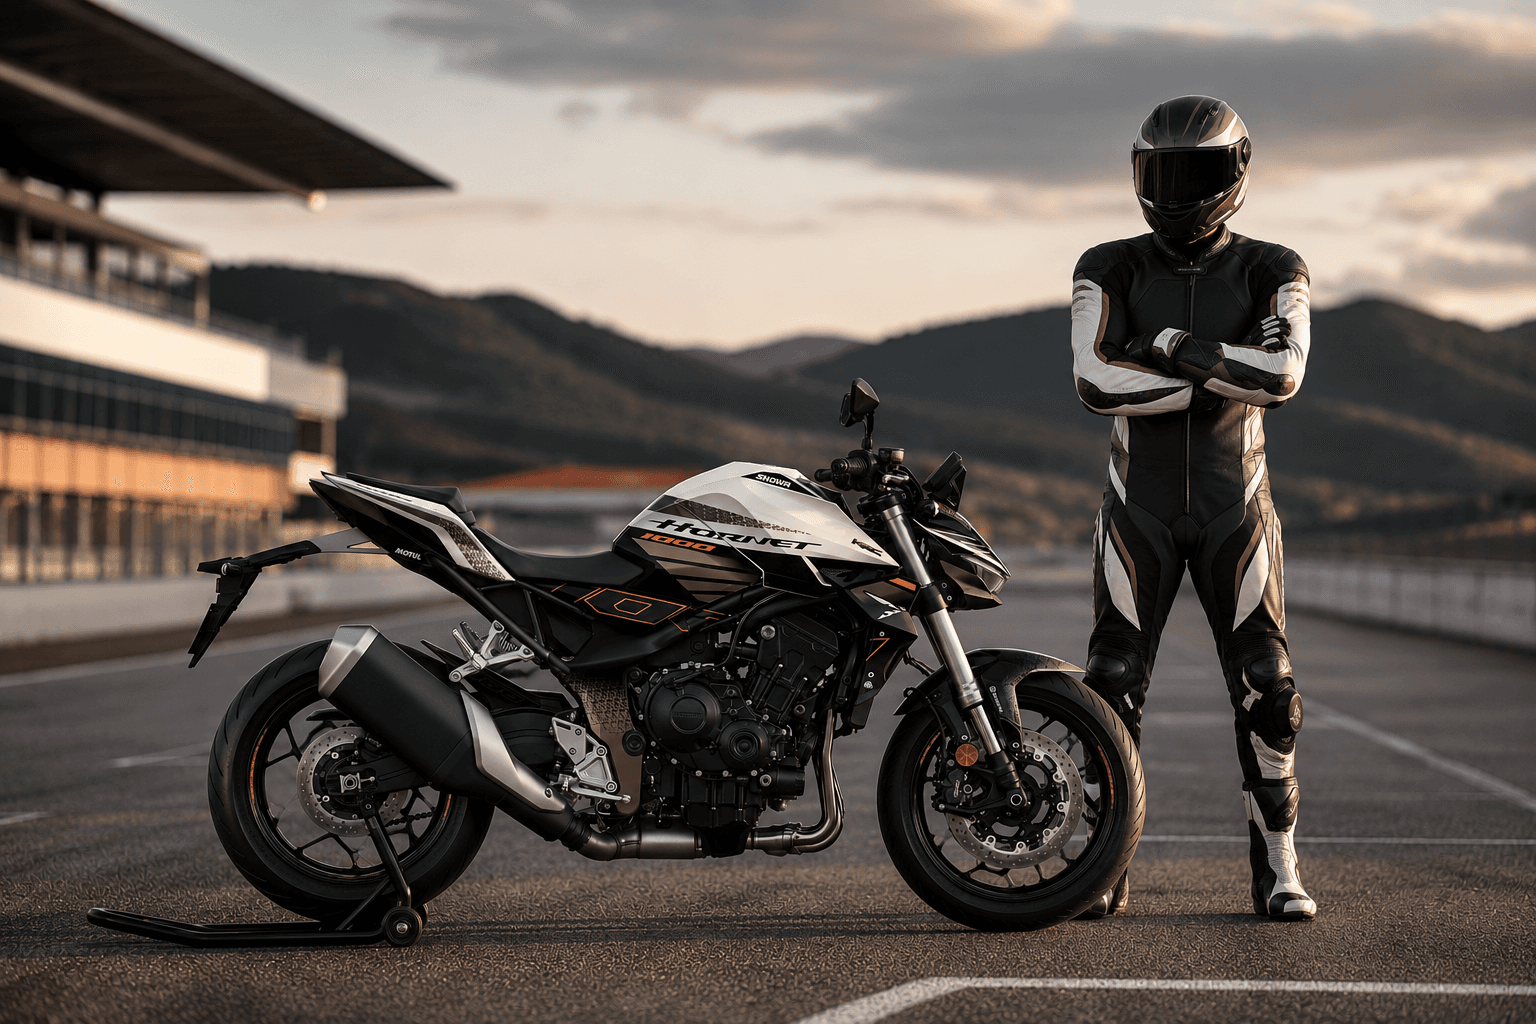
MT, CB, Duke, ER-6, GSX, Svartpilen, Vitpilen… Discover how to protect and renovate your roadster's fairings with a decal kit: preparation, application, maintenance and tips to preserve your motorcycle.
Roadster decal kit: protecting and renovating your bike's fairings
With mileage and regular use, a motorcycle inevitably starts showing signs of its history. Micro-scratches, rubbing, small marks on plastics or dulled fairings can gradually alter its appearance.
On a roadster, these flaws are particularly visible as many parts remain directly exposed.
When wanting to restore a cleaner look to your bike without opting for a full repaint or replacing fairings, applying a decal kit can be an interesting solution to refresh its appearance while protecting certain surfaces.
But to achieve long-lasting results, some precautions are essential.
Why do roadster fairings show wear over time?
Even when the bike is carefully maintained, some areas are naturally more exposed.
Clothing friction, road debris, repeated washing or simply daily use can gradually leave marks.
The areas around the fuel tank, scoops or side panels are often particularly affected.
Over time, some surfaces may also lose some of their original finish.
This doesn't necessarily mean replacing the affected parts. There are various solutions to refresh a roadster's appearance while keeping its original components.
Can a decal kit protect motorcycle fairings?
The primary function of a decal kit remains aesthetic.
However, the vinyl used also creates an additional layer between the bike's surface and its environment.
It can thus help protect covered areas against minor scratches, friction or superficial damage from normal use.
This protection naturally has limits: a decal kit doesn't replace mechanical protection and won't prevent damage from a fall or significant impact.
Its main benefit is better preserving the surfaces it covers while allowing you to modify the bike's appearance.
Can you apply a decal kit over marked fairings?
It depends on their condition.
Small marks or micro-scratches don't necessarily prevent application.
However, the vinyl shouldn't be considered as a solution for repairing severely damaged fairings.
Cracks, significant deformation or heavily deteriorated surfaces must be repaired first.
The surface must also be sufficiently smooth for proper vinyl adhesion.
Before applying a decal kit to an older bike, it's important to check each part's condition.
Surface preparation is crucial
This is probably one of the most important steps.
A fairing may seem perfectly clean while still retaining grease, wax, silicone or cleaning product residues.
These products can significantly reduce vinyl adhesion.
All surfaces must therefore be thoroughly cleaned and degreased before application.
At KUTVEK, we offer K7, specially designed for preparing and degreasing surfaces before decal kit application.
This step ensures a clean surface and promotes good vinyl adhesion.
Be careful with plastic restorers before application
When a bike has slightly dulled plastics, the first instinct might be to use a plastic restorer.
These products can be useful for maintaining parts of the bike that will remain visible.
At KUTVEK, K9 for example can restore and revive certain plastics.
However, a restorer shouldn't be applied to surfaces meant to immediately receive adhesive.
Depending on their composition, some products may leave a film that reduces adhesion.
Surfaces meant for the kit must remain perfectly clean and degreased.
Renovating a roadster's appearance without full repaint
A full repaint can deliver excellent results, but it's a much more involved process.
The decal kit offers a different approach.
It allows modifying a significant part of the bike's visual identity while keeping original parts.
On some roadsters, the change can be particularly striking as the decorated surfaces are directly integrated into the bike's lines.
This makes it possible to give new life to an older machine or simply evolve its appearance.
Choosing a design suited to the bike's condition
When using a decal kit for aesthetic renovation, the graphic design also deserves consideration.
The goal isn't necessarily to cover maximum surfaces.
A well-designed kit should account for parts that will remain visible: frame, engine, wheels, fuel tank or various bodywork elements.
The kit's colours can then be chosen to create a coherent whole with the bike's existing configuration.
Different finishes also allow modifying the final look, with options including holographic, glitter, fluorescent or pyramid effects depending on the project.
Proper application for long-lasting results
Once surfaces are prepared, application must be done carefully.
It's important to work in good conditions, on a clean bike in a suitable environment.
Each element should be positioned gradually following the fairing's contours.
Curved areas and edges require particular attention so the vinyl properly conforms to the part.
After application, it's also important to follow recommendations regarding vinyl adhesion before washing or immediately exposing the bike to harsh conditions.
Proper application directly contributes to the quality and longevity of results.
Daily maintenance of your decal kit
Once installed, regular maintenance helps preserve the kit's appearance longer.
Gentle, regular cleaning is preferable to letting significant dirt accumulate.
Care should also be taken with pressure washers, especially near the vinyl edges.
As with the rest of the bike, good habits help maintain its appearance over time.
Protection or customisation: two different objectives
Installing a decal kit on a roadster can thus serve different needs.
For an older bike, it can help refresh its appearance and protect certain surfaces.
For a newer bike, it can also help preserve certain parts from the first miles.
But if your main goal is completely transforming your bike's style, we've dedicated a specific guide to customising a roadster with a decal kit, covering models like KTM Duke, Kawasaki ER-6, Husqvarna Svartpilen, Vitpilen and Suzuki GSX.
→ This is where I'd insert the internal link to our newly published article.
The idea is to choose the solution that truly matches your project: protecting, renovating or simply creating a bike like no other.
FAQ
Can a decal kit hide fairing scratches?
Some minor marks may become less visible once covered. However, a decal kit doesn't repair deep scratches, cracks or fairing deformation.
Can you apply a decal kit to an old bike?
Yes, provided surfaces are in good enough condition. They must be clean, smooth and properly degreased before application.
Does a decal kit protect paintwork?
The vinyl adds an extra layer on covered surfaces and can help protect against minor scratches and friction. However, it doesn't protect against significant impacts.
Can you use a plastic restorer before applying the kit?
It's better to avoid using restorers on surfaces meant for adhesive. Some products may leave residues reducing adhesion. These areas must be perfectly cleaned and degreased.